The Moon, our neighbor whom everyone knows and who is present almost every night, this sparkling celestial object of majestic beauty is the most luminous after the Sun.
To begin with, i not expand on the characteristics of ou satellite. I will also come back to taking photos with more consumer devices such as smartphones in future articles.
Indeed, what is interesting is to think big ! The craters, the shadows, the details of the Moon’s surface are worth focusing on for a moment. To see these particularities, we will need a telescope or a refracting telescope to magnify the image and capture as much light as possible. This light, made up of photos that left the Sun a few minutes earlier, hit the Moon and travel to our planet in about 1.28 secondes. To capture these photons after their trip into space, after all, all you need to do is attach a camera to the eye location on the telescope. Well, yes ! But in reality, it’s not that simple. There are some small constraints that do not allow you ti take nice clean images the first time… All because of the Earth’s rotation and turbulence. So how do we properly capture this light collected by our telescope ?
As i said, there are mainly ttwi things to overcome. First, it is necessary to compensate for the Earth’s rotation which makes the celestial sky scroll before our eyes. However, to take pictures of the stars, it is necessary to take long photographic exposures of several secondes or even several minutes. Without compensation for your camera, the movement of the sky will generate a star trail on your image and that is not what we are looking for, of course. To avoid this kind of inconvenience (that we will look for in some cases later 😉 ) a motorized mount must be used which follows the movement of the sky.
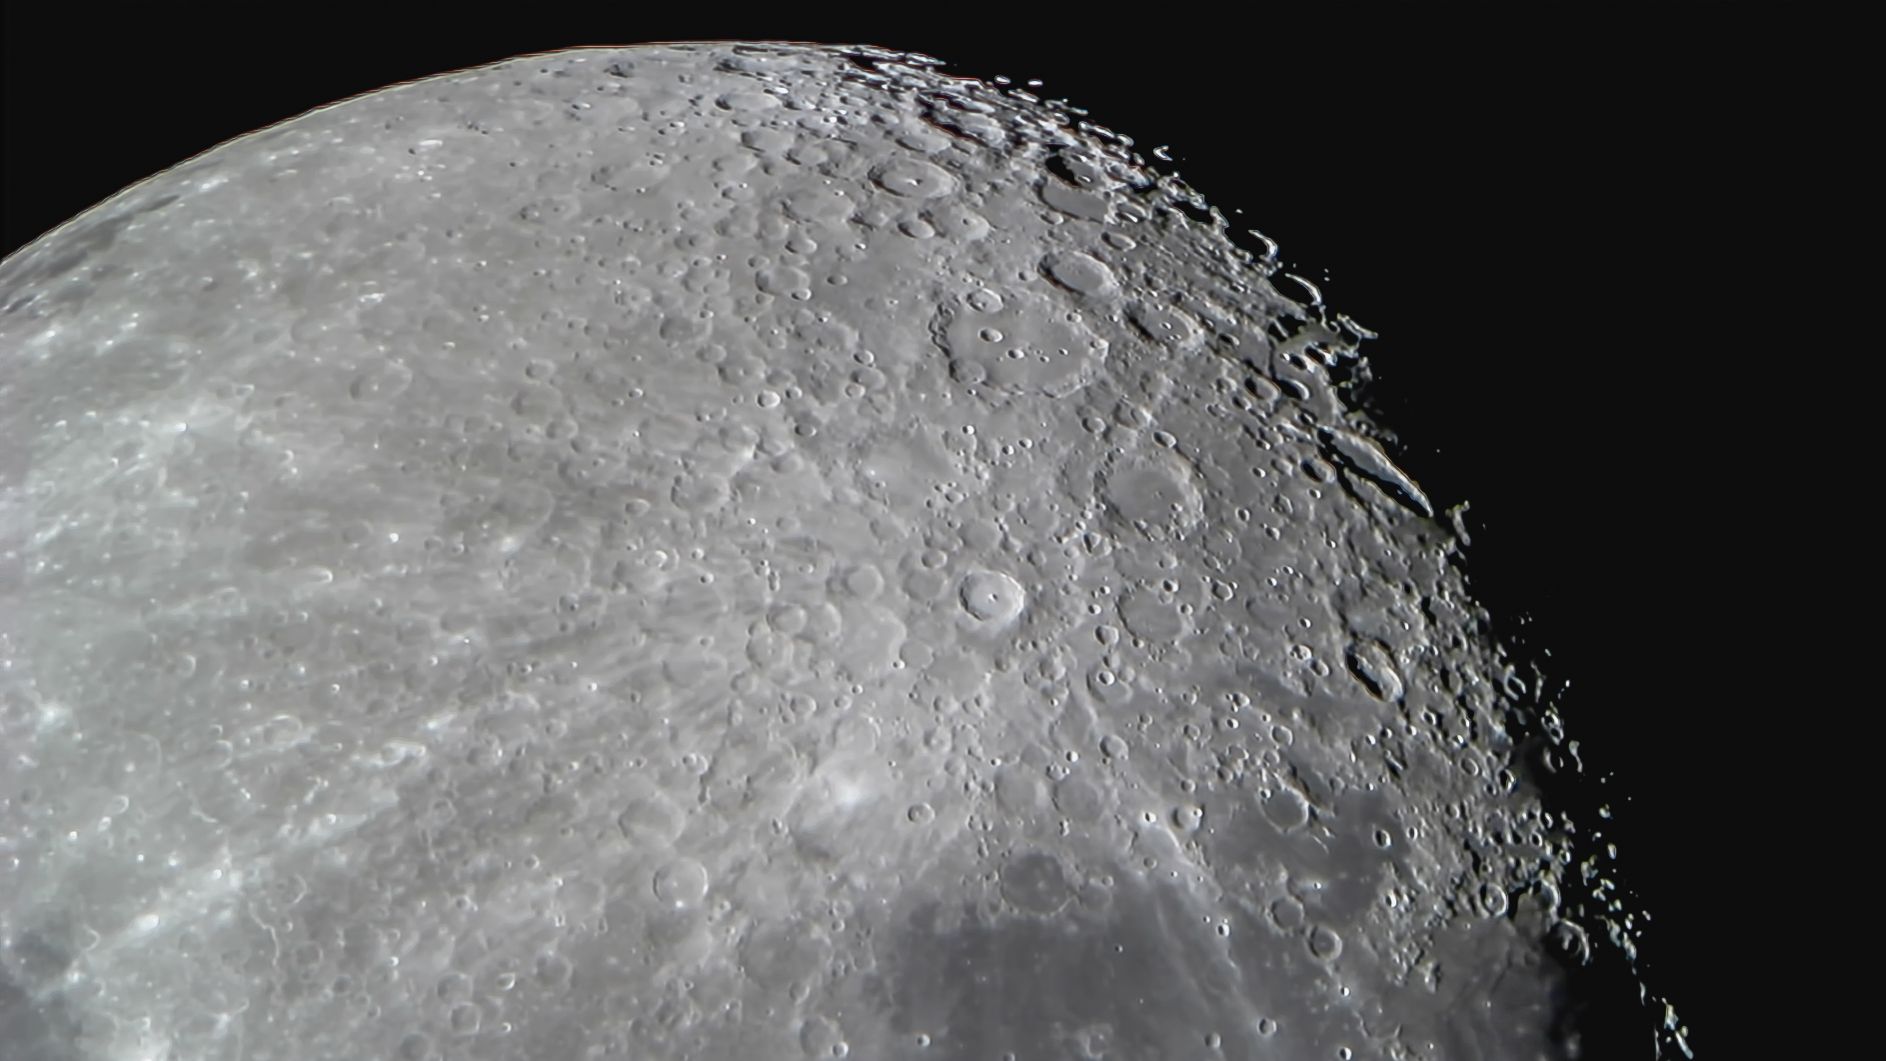
Secondly, we must find a solution against the turbulence generated by the high temperatures of the day rising from the ground. This disturbance will materialize in your images as distortions like the one you can see over a tarmac road on hot days. These waves will therefore distort certain parts of your images. To avoid this, instead of taking images, astronomers take a slew of pictures, concretely a video that records several images every second. Then, with special processing software, all these images are assembled, keeping on each of them only the parts that have not been distorted by these heat waves. You will have after that a high quality snapshot of the Moon. No need to take a large videos, a few seconds are enough for hundreds of images. Here is the recording of the Moon that i used to create the header image.
The telescope used to take this video is an 8 inch Celestron Edge HD on which i attached an SLR camera, a Canon 60D. To be able to connect a DSLR to a telescope, it is necessarry to have a T2 ring. One all the equipment has been installed and the station has been set up, all you have to do is shoot !
Astronomical interlude
To avoid creating vibrations when you press the shutter button on the camera with your finger, it is best to connect a remote control to your camera. Prefer a remote control that works with an intervalometer to be able to create timelapses. We will come back to this later. It is possible to find them at reduced prices on certain commercial websites such as Amazon.
After your take is complete, the material repackaged, it is time to move on processing. As i said, the goal is to stitch the images together in order to get the sharpest possible image. To do this, several software exist. I used Registax software version 6, available here, in this case, but Autostakkert is also great. I will detail the processing via this software in one of the next post. Finally, a short run of the image through Photoshop, Lightroom or Gimp will fine tune the last detail of your shot.
Equipment
Telescope Celestron C8 EdgeHD – Type Schmidt-Cassegrain. Diameter 203 mm, focal 2000 mm.
DSLR Canon 60D + Bague d’adaptation
Processing software
Date
15th july 2016
It is of course possible to make it prettier, cleaner, in short, always better. This is the goal of this website, share my learning from the practice with honesty and passion. The successes, even partial, as well as the failures will therefore be part of the framework that will populate this space to allow you to learn to photograph the sky. As Einstein said :
“You never fail until you stop trying.”